Spring is when great tiny home ideas either take flight or get boxed in by avoidable mistakes. If you want a compact space that feels calm, bright and effortless to live in, the secret is not more features, it is earlier planning of the right ones.
At Tiny Homes by Hangan in Bayswater, we see it every week on factory tours. The best outcomes come from simple, practical moves at frame stage: storage that runs to the ceiling, real loft access you feel safe on, cross-ventilation set high, and services mapped before a single lining board goes up.
This guide is Hangan’s spring playbook. It zooms in on mistakes to avoid, Melbourne-specific checks, and a clear STEP pathway you can use whether you are DIY, lock-up, or turnkey.
What makes a good tiny house
A good tiny home feels bigger than its dimensions. It does that with:
- Vertical storage to the ceiling that removes clutter from benches and floors
- Light you can control, with high-level opening windows or skylights for fresh air
- Realistic loft access that you can use daily without fear
- Early service planning so power, water and waste do not fight for the same space
Under the skin, you will see clean framing, planned penetrations, and insulation kept continuous. Weight is balanced over the axles, and glazing is sized for Melbourne’s winter and summer swing. The finish looks simple, but the coordination behind it is anything but.
Common mistakes in tiny houses to avoid
- Leaving storage to last. You will lose cubic metres. Plan tall cupboards, full-depth drawers and bed bases at framing.
- Ladders that look cute but feel risky. If it is steep and wobbly, you will avoid the loft.
- One big scenic window with no cross-breeze. Without high-level vents, stale air and winter condensation can build.
- Guessing electrical loads. Kettles, A/C and hot water on the same circuit can trip protection.
- Plumbing after lining. You will fight studs to fit a 900 x 900 mm shower, and waterproofing gets compromised.
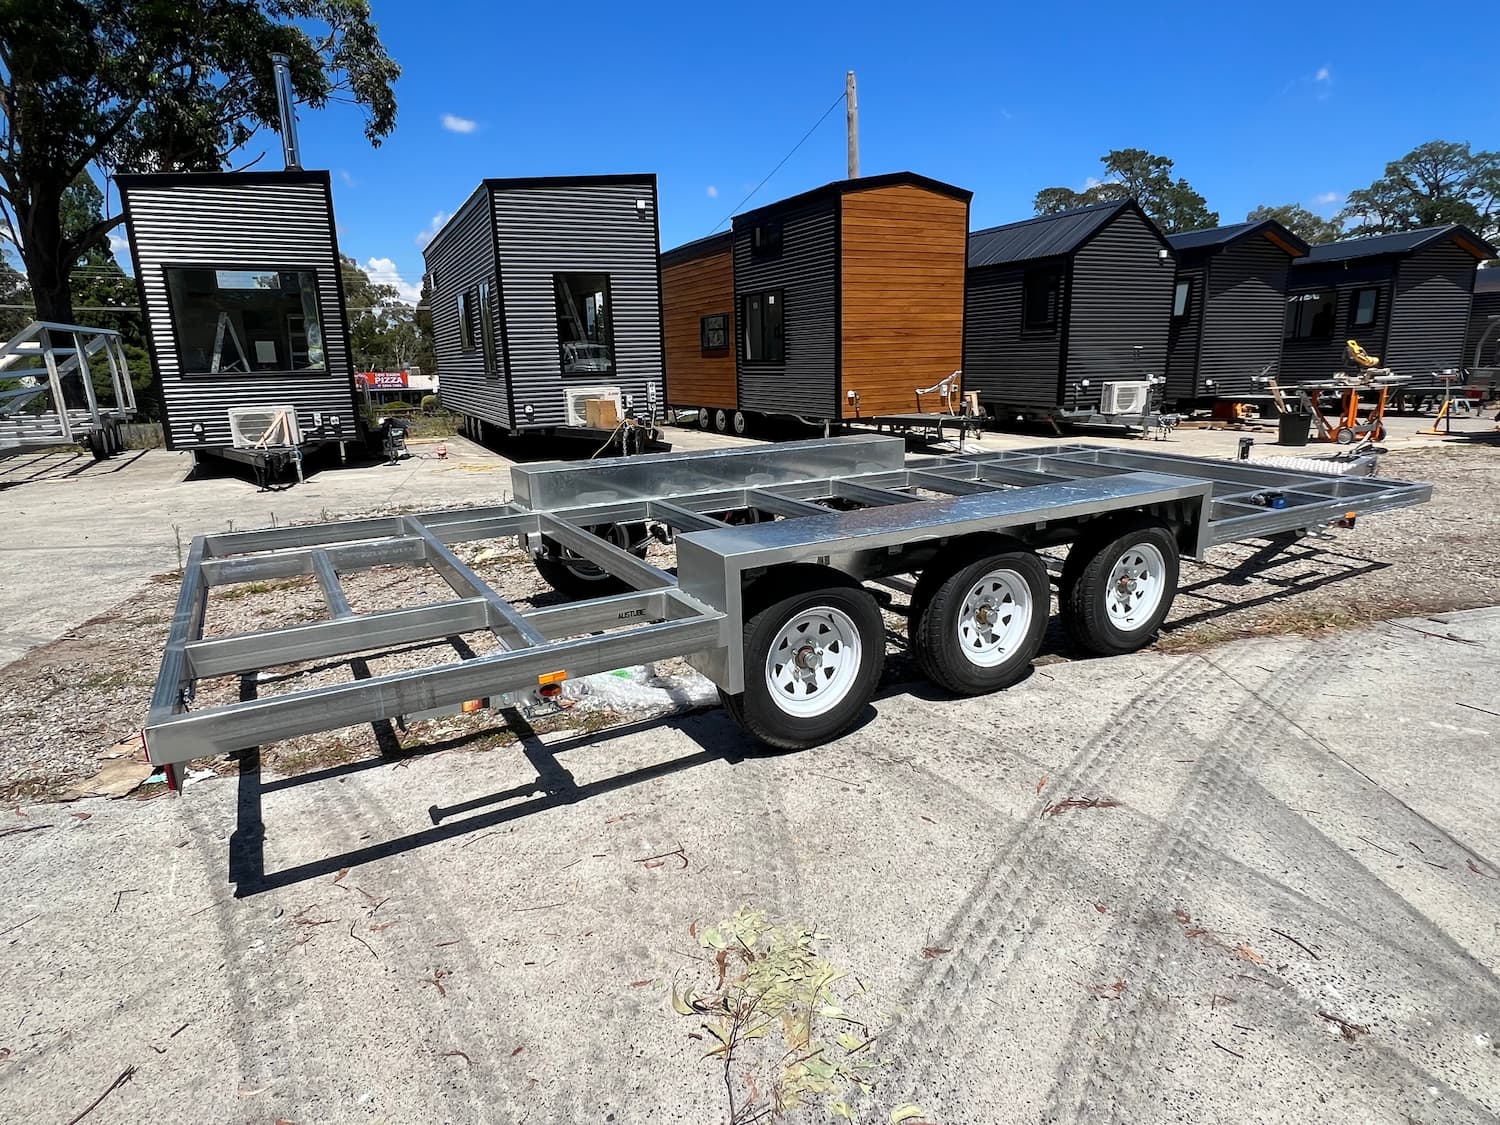
- Under-spec trailers. Weight creep is real. Choose the trailer type and rating to suit the finished home and head height needs. Our guide to Flat Top vs Drop Deck tiny house trailers explains the trade-offs.
Light and ventilation that actually improve comfort
Daylight is free, but comfort comes from control. Combine:
- One or two large viewing windows for outlook and solar gain
- High-level operable windows or skylights on the other side for a pressure path
- Cross-ventilation set high, so warm air can escape without freezing your knees
In Melbourne, this mix helps winter sun do its job while giving you summer release. Pair it with double-glazed aluminium windows, reliable seals and a small split-system for year-round stability. If privacy is a concern in a backyard setting, use clerestory windows toward neighbours and larger panes to the garden side.
Safe, realistic loft access
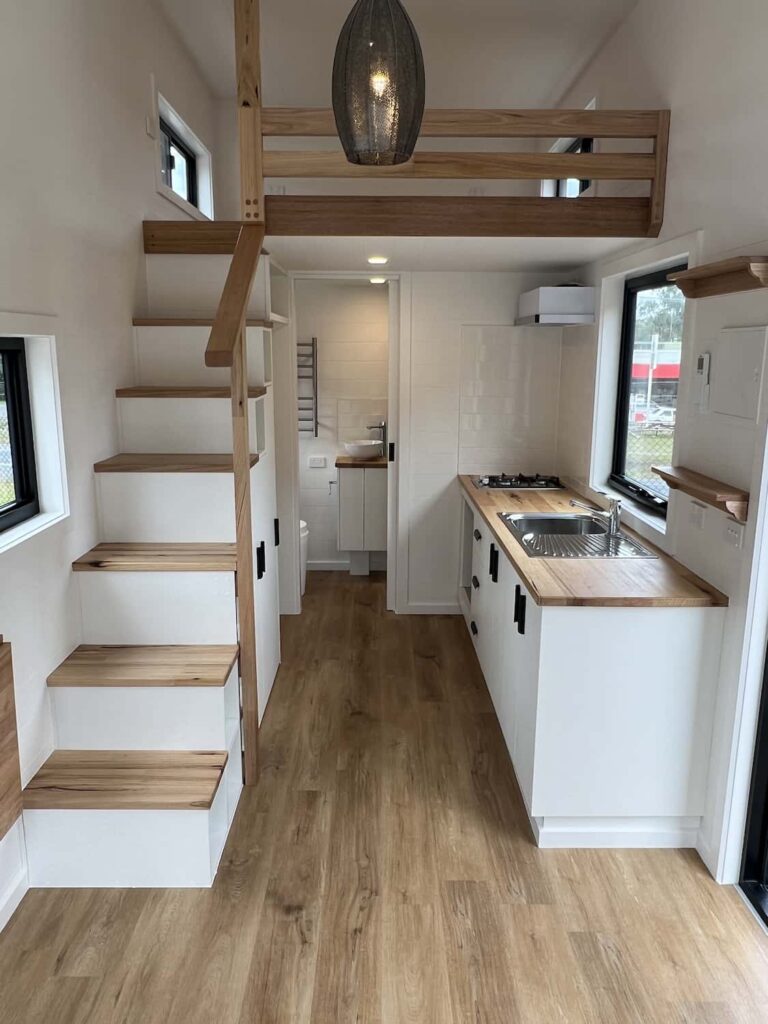
For daily use, compact stairs or a well-detailed alternating tread stair typically beats a steep ladder. Key checks:
- Comfortable rises and treads you can place a full foot on
- A handhold or rail from the first step
- Clear headroom at the loft edge so you can stand, turn and descend facing forward
- Drop Deck trailer consideration to gain extra head height under the loft
If you must use a ladder, fix it, widen the rungs, add a rail, and keep the angle friendly. Test it in person during a factory visit; your knees will decide what is realistic.
Plan electrical and plumbing before lining
Treat services like structure. Map them early and you avoid holes through new work later.
Electrical
- Group circuits by use, not rooms. Kitchen loads on their own protected circuits, then A/C on a dedicated run, then general power and lighting.
- Place bench-height GPOs where appliances will live, and bedside charging where cords will not drape across access.
- Prewire for a split-system, with outdoor clearance and condensate routing confirmed.
- If off-grid is on your roadmap, run a solar conduit path and note DC isolator positions at frame stage.
Plumbing
- Fix wet-area bases early. A 900 x 900 mm shower base should be set before linings so walls square up and falls drain right.
- Confirm waste locations through the trailer and keep insulation continuous around penetrations.
- Allow access panels for serviceable items like mixers, traps and fans.
Doing this at lock-up is still early enough to save headaches, especially if you choose a lock-up shell and complete the interior yourself. Not sure which pathway suits you? Compare lock-up shells vs turnkey tiny homes in Melbourne.
The Melbourne checklist for liveability
- Vertical storage to the ceiling, with tall modules planned into the frame
- High-level opening windows or skylights on the opposite side of your main glazing for cross-ventilation
- Stairs or alternating tread steps with a rail for safe loft access
- Double glazing and quality insulation ready for Melbourne winters
- Electrical load mapping with dedicated kitchen and A/C circuits
- Shower base and wet areas located before lining, with sealed penetrations
- Trailer selection matched to weight and head height, often Drop Deck for loft comfort
If you are weighing trailer options or planning a backyard cabin or studio, it helps to walk both Flat Top and Drop Deck bases in person. You can compare framing, lock-up and near-finished homes at our Bayswater workshop.
STEP playbook: from idea to durable build
- STEP 1: Book a Bayswater factory tour. Bring access photos, a site sketch and a wish list.
- STEP 2: Map permits and ballpark budget. Clarify secondary dwelling, studio or Tiny House on Wheels pathways in Victoria (see our tiny home permits guide for Victoria).
- STEP 3: Lock trailer type and develop the brief around flow, light, ventilation and storage.
- STEP 4: Produce plans, framing layouts and window schedules, ready for permits and trades.
- STEP 5: Frame and lock-up. Confirm penetrations, insulation continuity and service paths.
- STEP 6: Rough-ins and finishes. Set shower bases, run circuits by use, prewire A/C and future solar.
- STEP 7: Delivery and siting. Check tie-downs, load balance and a safe, service-friendly placement.
Mini case notes from the floor
- Loft comfort win: A Drop Deck trailer plus an alternating tread stair with a solid handrail allowed safe nightly access for a tall couple. Headroom at the loft edge was the decider.
- Condensation solved: High-level skylight vents paired with a bathroom fan on a timer cut winter moisture and kept windows clear in the morning.
- DIY time-saver: A lock-up shell with shower base set, electrical conduits in place and preframed tall cupboards let an owner-builder finish faster without rework.
Quick FAQ
What makes a good tiny house?
A plan-led build with vertical storage, controlled light, cross-ventilation, realistic loft access and early service mapping.
What are the common mistakes?
Late storage planning, unsafe ladders, no high-level ventilation, guessed electrical loads, and setting wet areas after lining.
How should I plan electrical and plumbing?
Map circuits by use with protected kitchen and A/C runs; place bench-height and bedside power logically; set shower bases and wastes before lining with sealed penetrations and access panels.
How do light and ventilation improve comfort?
Large outlook windows bring brightness and warmth; high-level operable windows or skylights across the plan release hot air and reduce condensation.
What is realistic and safe for loft access?
Compact stairs or alternating tread stairs with rails and proper rises. If using a ladder, fix it, widen rungs and keep a friendly angle.
See it in person this spring
The fastest way to sense good design is to walk it. Book a spring factory tour in Bayswater to compare framing, lock-up and near-finished homes, ask about electrical load mapping, and test loft access solutions that feel right for you.
If you are exploring options for a backyard studio or cabin in Melbourne, see how our custom approach differs and what will work on your site. You can also review our trailer range, including road-legal Tiny Home trailers, and discuss siting and services for your block.
- Explore our custom work with a Melbourne tiny home builder at Tiny Homes by Hangan.
- Learn about backyard studios, granny flats and how they differ from dwellings in our granny flats and tiny homes guide for Victoria.
- Review our road-legal tiny home trailers.
- Book a one-on-one Bayswater tour to see builds in progress.
Summary: Durable tiny homes come from planning storage, light, ventilation and services before you close the walls. Choose safe loft access, set wet-area bases early and map electrical loads by use. Take the next step by touring our Bayswater workshop this spring to turn a smart plan into a home that feels great year after year.